Getting started
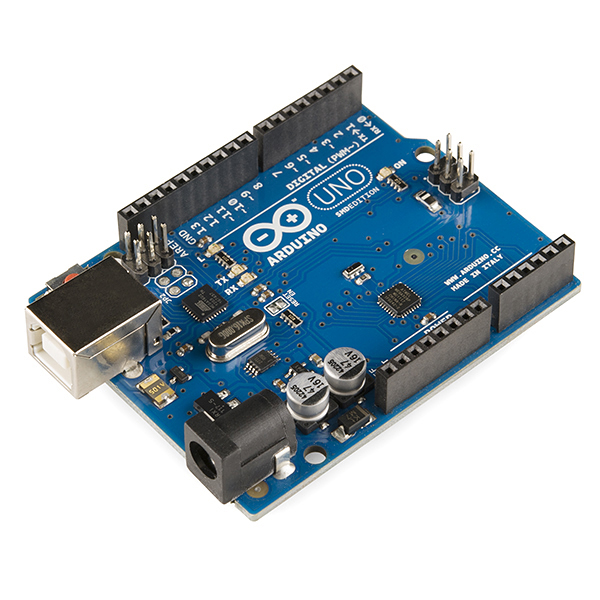
The Arduino Uno is a microcontroller board based on the ATmega328. It has 14 digital input/output pins (of which 6 can be used as PWM outputs), 6 analogue inputs, a 16 MHz crystal oscillator, a USB connection, a power jack, an ICSP header, and a reset button. It contains everything needed to support the microcontroller; simply connect it to a computer with a USB cable or power it with an AC-to-DC adapter or battery.
Boards sold outside the USA are now named Genuino so when we write Arduino Uno, it means Arduino Uno or Genuino Uno.
To get started you have your Arduino UNO board in front of you, a computer and a standard USB cable (A plug to B plug): the kind you would connect to a USB printer.
The open source Arduino environment makes it easy to write code and upload it to the I/O board. It runs on Windows, Mac OS X and Linux. The environment is written in Java and based on Processing, AVR-gcc, and other open source software.
Installing software
Before you connect your Arduino board to the computer, make sure you have installed the Software and drivers needed to run with the board.
You can download the latest release of the Arduino integrated development environment (IDE) software by going to http://arduino.cc and click the «Download» link in the top menu. Here you can choose a download depending on what operating system you use.
- Download and run the latest version of the Arduino IDE
- For Windows users with administrative rights on the computer, use the Windows installer. If not, download the zip-file and extract the file to a local folder on your computer.
It is recommended to use the installer if you have administrative rights. This will allow you to automatically install the drivers for the Arduino Board.
Connecting the Board
The Arduino Uno automatically draws power from either the USB connection of a computer or an external power supply. Connect the Arduino board to your computer using the USB cable. The green power LED (labelled PWR) should turn on.
Install drivers
If you used the zip-file or unchecked the «install driver» part during the installation, you might have to manually install the drivers to connect the Arduino board.
Installing drivers for the Arduino Uno with Windows:
- Plug in your board and wait for Windows to begin its driver installation process. On some computers the drivers will install automatically. If not, follow the steps below.
- Click on the Start Menu, and open the Control Panel/System and Security/Device Manager or With Windows 10 go to “Setup/Units/other”.
- Look under Ports (COM & LPT). You should see an open port named «Arduino UNO (COMxx)»
In some cases you won’t find “Arduino Uno”, instead you will find «Unknown device» at the top. - Right click on the «Arduino UNO (COMxx)» port and choose the «Update Driver Software» option.
- Next, choose the «Browse my computer for Driver software» option.
- Finally, navigate to and select the Arduino Uno’s driver file, named «ArduinoUNO.inf», located in the «Drivers» folder of the Arduino Software download (not the «FTDI USB Drivers» subdirectory).
- Windows will finish up the driver installation from here.
Launch the Arduino Application
Double-click the Arduino application in the folder where you extracted it.